

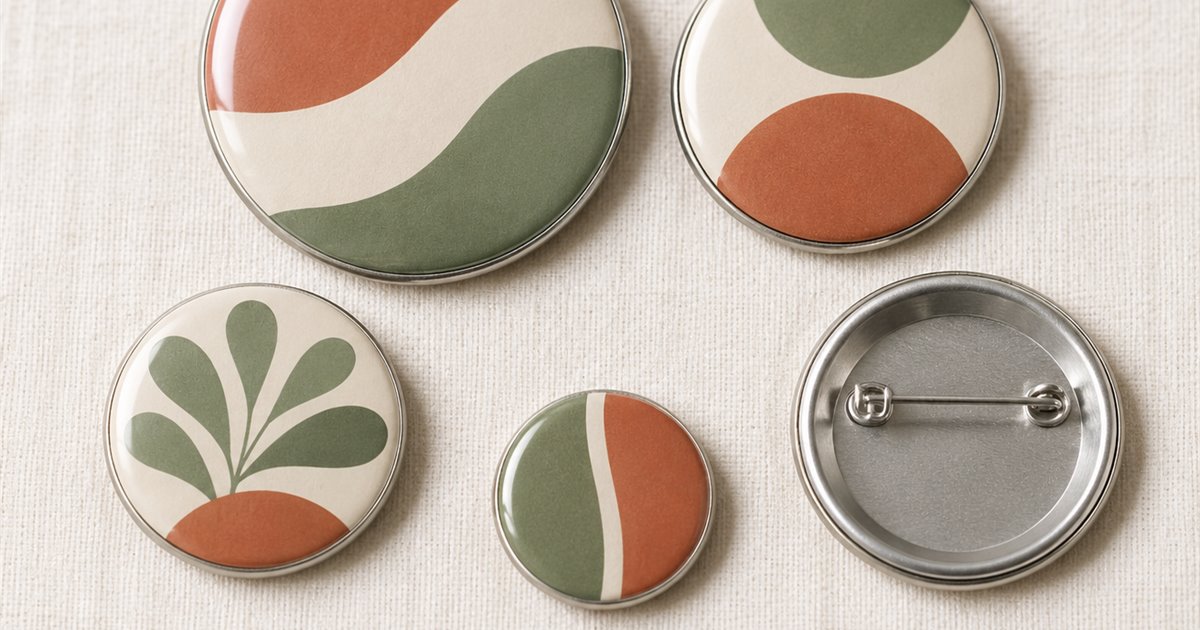
Custom pinback buttons look like the simplest item in any personalised gift catalogue: a small disc, a printed face, a pin on the back. Then the order arrives and the name on the badge is clipped at the edge, the photo looks soft, or the pin tears a hole in a favourite denim jacket because the backing was wrong for the fabric.
All three problems come from decisions made before checkout, not from the printer. Size, backing and artwork are the only variables that matter, and each has a clear answer.
What a Custom Pinback Button Actually Is
A button badge is a thin metal shell wrapped around a printed paper face, sealed under a clear plastic film, with a fastening on the back. That construction explains both its strengths and its limits.
Why the rim eats your design
The shell curls over the edge of the printed face to hold it in place, and that curl consumes roughly one eighth of an inch around the whole circumference. Anything important placed in that band is folded under the rim and disappears. Most artwork complaints trace back to this single fact.
The print is offset, not photo paper
Runs print many faces on one sheet and punch them out, so vivid reds and deep blacks reproduce reliably while pale pastels and fine gradients can band.
Sizes: How to Read the Diameter Chart
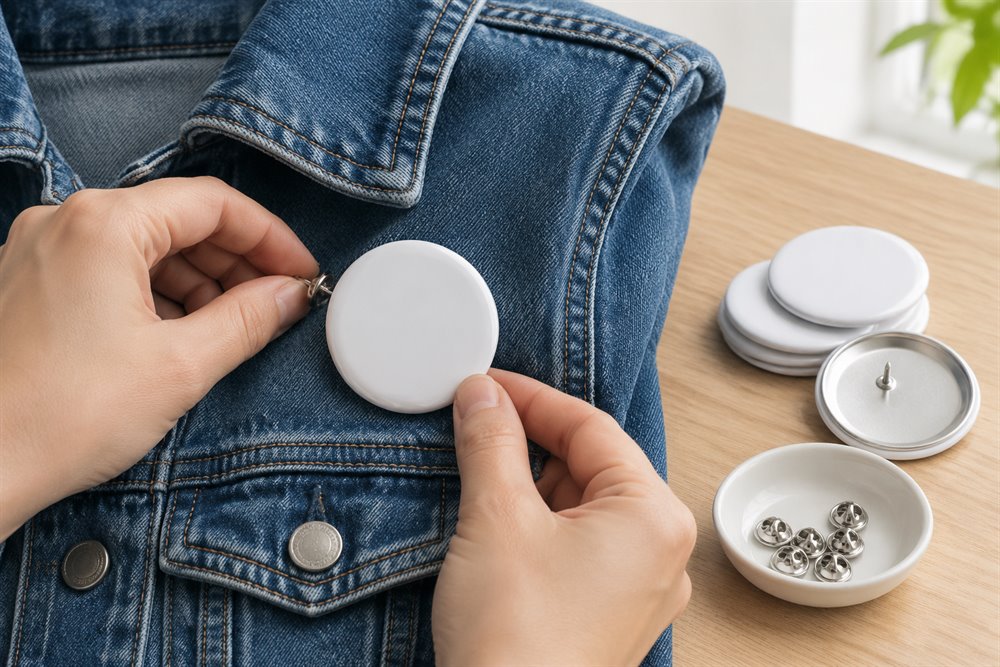
Listings quote diameter in inches, and the ladder is fairly consistent: 1, 1.25, 1.5, 2, 2.25 and 3 inch. The number is the finished outside diameter of the shell, not the printable area.
The ladder in practical terms
- 1 inch (25 mm): lapel and lanyard size. Best for a logo, a single initial or one short word.
- 1.25 to 1.5 inch: the sweet spot for name badges, pronoun pins and party favours. Room for two short lines.
- 2 to 2.25 inch: standard for band merch and campaign buttons. A face or a short slogan fits comfortably.
- 3 inch: a statement button for jackets and backpacks. Detail survives, but the weight shows on thin fabric.
Size follows viewing distance
A lanyard badge is read from about two feet away, so 1 to 1.5 inch is plenty. A jacket button is read from four or five feet, which pushes you to 2.25 or 3 inch. Match the size to viewing distance, not to how much artwork you want to fit.
Small size means less detail, not smaller detail
Shrinking a design does not shrink its problems. A busy illustration that reads well at 3 inch turns to mud at 1 inch because the printed dots merge. If the same artwork must run in several sizes, build a simplified version for the small one.
Backings: Pin, Clutch, Magnet and More
The backing is where orders are most often mis-specified, because the listing photo shows the front while the options hide in a dropdown.
Standard pinback
A safety-pin style bar welded to the back: cheapest, most familiar, and reliable on denim, canvas, lanyards and tote straps. Its weakness is the puncture. On leather, silk, satin and any visibly woven fabric the hole is permanent, and repeated pinning in one spot tears the cloth.
Butterfly clutch and flat-back
A smooth back with a butterfly or rubber clutch holds the badge flatter and spreads pressure better than a single pin bar. It still punctures, but the entry point is smaller and the badge sits closer to the fabric, which looks sharper on a blazer lapel or a uniform shirt.
Magnetic backing
Two magnets sandwich the fabric with no hole at all. This is the right choice for silk ties, scarves and name badges worn against a collar. The trade-off is holding strength: a strong pair handles a 1.5 to 2.25 inch button on cotton, but not a heavy 3 inch button on thick wool.
Quick matching list
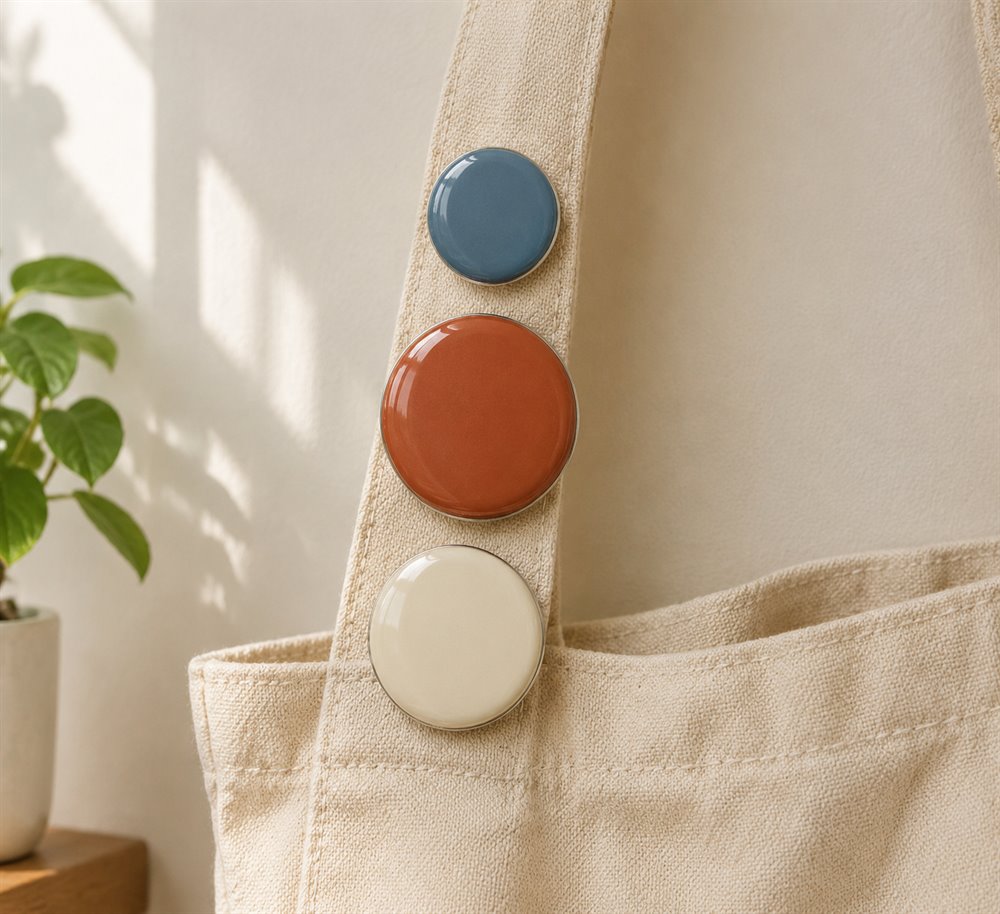
- Denim jacket, backpack, canvas tote: standard pinback, because the fabric tolerates the puncture and the pin holds firm.
- Name badge on a work shirt: butterfly clutch or magnet, so it sits flat and stays level all day.
- Silk tie, scarf, delicate blouse: magnet, for no hole and no snagging.
- Party favour or giveaway: standard pinback, the lowest cost per unit at volume.
- Keepsake displayed at home: magnet or flat-back, so it holds on a fridge or pin board without a hole.
Artwork Tips That Survive the Press
Start at the right resolution
Supply artwork at 300 dpi at final print size: a 2.25 inch button needs roughly 675 by 675 pixels before the rim takes its share, so 1200 by 1200 leaves comfortable room. Screenshots, forwarded images and social thumbnails sit far below that and print soft.
Respect the safety margin
Keep text, faces and logos inside the central 80 percent of the circle. Treat the outer 20 percent as expendable: it is where the rim curls and where a slightly off-centre punch lands. Design a border deliberately if you want one, rather than letting the punch decide.
Type needs weight to survive
Hairline fonts and thin serif strokes break up on a press, especially at one inch. Use a medium or bold weight, keep letter spacing generous, and limit a small button to one or two words. If a full line must appear, move it to a 2.25 or 3 inch size.
Design for contrast, not for subtlety
Two neighbouring mid-tones can look distinct on a monitor and merge into grey in print. Check the design in greyscale: if the elements still read apart, the print will hold. Black type on a light ground is safest at any size.
Photo buttons: crop for the circle
A rectangular portrait pushed into a circular face loses its corners. Crop so the head and shoulders sit inside the safe circle, away from the rim.
Building a Set That Looks Deliberate
Buttons are usually ordered in groups: wedding favours, team giveaways, a small brand run. Hold the palette to two base colours and one accent — a shared colour is what makes six designs read as one collection. If the run is larger than a few dozen, print five to ten first and check the rim trim, colour and backing before committing; that costs far less than discovering the type is too small after three hundred units land. The same discipline carries across formats: the two-colour custom magnets use the same print logic on a different substrate, so a giveaway set stays consistent.
Care and Longevity
- Keep buttons out of the washing machine. The rim rusts and the film lifts at the edge.
- Wipe with a dry or barely damp cloth. Solvents and alcohol wipes dull the film.
- Do not pin the same spot repeatedly. Rotate position slightly so the fabric recovers.
Common Mistakes to Avoid
- Uploading a screenshot. Export the original file at full resolution instead.
- Letting text run to the edge. The rim will fold it away.
- Choosing a pin for delicate fabric. Use a magnet and skip the hole entirely.
- Ordering the largest size for a lanyard. A 3 inch button swings and reads as heavy.
- Skipping the sample. Ten test pieces cost less than one wasted run.
Frequently Asked Questions
What size are standard custom pinback buttons?
The common ladder is 1, 1.25, 1.5, 2, 2.25 and 3 inch in diameter. The 2.25 inch size is the most popular all-round choice for photo badges and campaign buttons, while 1.25 to 1.5 inch suits name badges and lanyard pins.
What is the difference between a custom pin and a custom button pin?
Both describe the same object: a round badge with a printed face and a fastening on the back. “Custom pin” is often used loosely for any small wearable badge, including enamel pins, which are cast metal rather than printed. A printed paper face under clear film is a button pin.
Can I put a photo on a custom pinback button?
Yes, and photo badges are one of the most requested formats. Crop to a square, keep the face inside the central 80 percent of the circle, and supply at least 1200 pixels on the short side so the print stays sharp after trimming.
Which backing is best for a denim jacket?
A standard pinback holds well on denim: the tight weave tolerates the puncture and the pin bar grips firmly. Use two buttons rather than one on a heavy badge, and avoid 3 inch sizes on lightweight shirt fabric.
How many buttons should I order for an event?
Plan one per guest plus about ten percent spare for staff, breakage and late additions. For a wedding favour or small giveaway, 1.5 inch buttons cost less per unit and are quick to pin on.
Order Your Custom Pinback Buttons
Ready to make a set? Start with the custom pinback buttons: upload artwork or type your text, choose the diameter and the backing that matches how the badge will be worn, and the printed buttons arrive ready to pin. If the run is also headed for a fridge or a metal board, the two-colour custom magnets carry the same artwork without a pin, and a photo sound keychain rounds out a giveaway set for anyone who would rather not wear a badge. Browse the full shop to see every format that can carry the same design.
Leave a comment